Manage - Timesheet Workflows
|
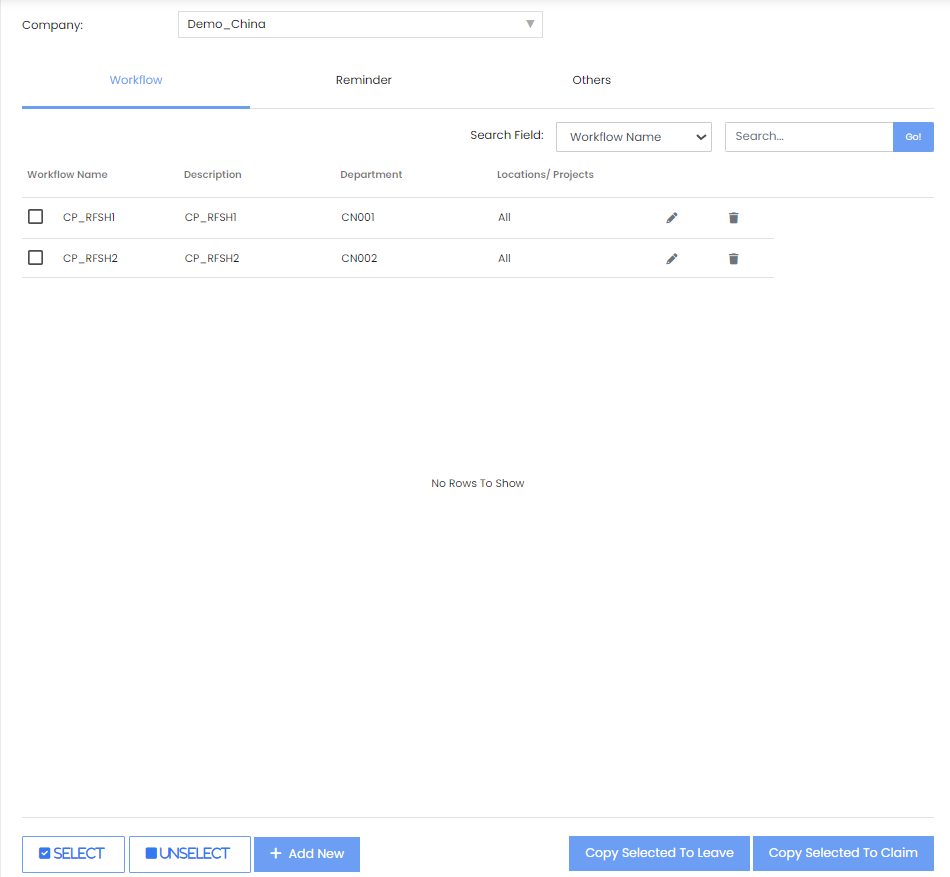
To Create New Approval Workflow
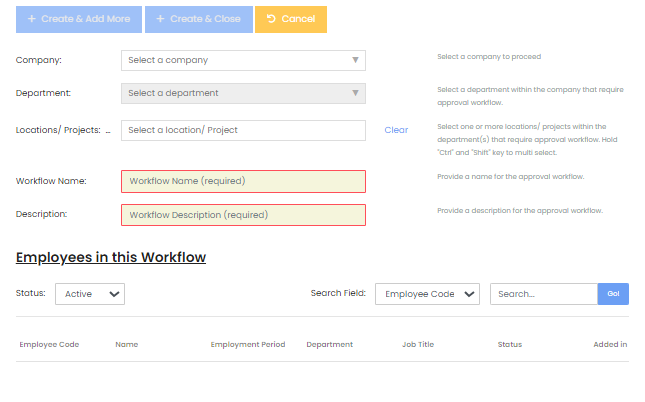
Step 1: Firstly, click the [Workflow] tab and you will be directed to the page on the left, as shown in Image 1. Step 2: To add a new Approval Workflow, scroll to the bottom of the page and click [+ Add New]. A popup window will appear, as shown in Image 2 below. Step 3: Fill up the required information. Step 4: To save your changes and add another Approval Workflow, click [+ Create & Add More]. Else, to save your changes and close the page, click [+ Create & Close].
 |
Setting Up Request Approval Reminder
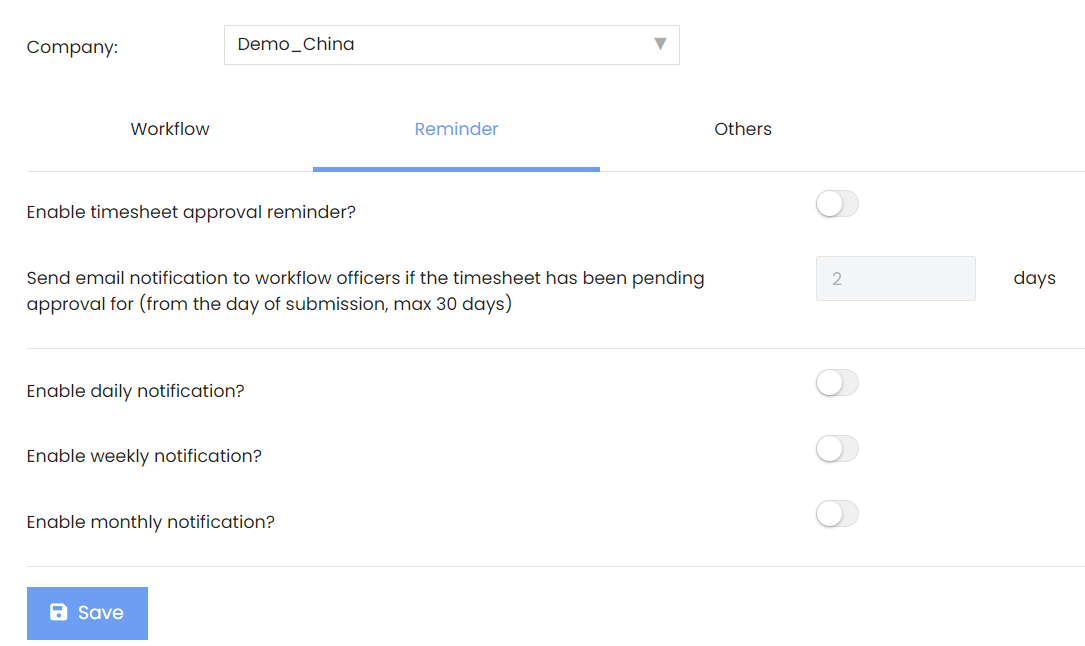 |
Step 1: Select the [Reminder] tab, and you will be directed to the page on the left, as seen in Image 4. Step 2: Toggle the first button if you would like to Enable Timesheet Request Approval Reminder. You can also select if you would like to send the workflow officer an email notification if the OT Request has not been approved after a certain number of days. Step 3: Next, you can toggle the other buttons below if you would like to Enable Dailly, Weekly or Monthly Notifications. Step 4: Make the necessary changes, and click [Save] to save your changes. |
Disabling Timsheet Email Approval
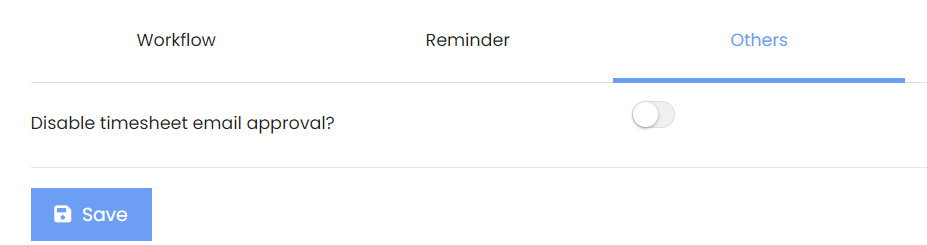 |
Step 1: Select the [Others] tab, and you will be directed to the page on the left, as seen in Image 5. Step 2: Toggle the first button if you would like to Disable Timesheet Request Email Approval. Step 3: Make the necessary changes, and click [Save] to save your changes. |
Copy Workflow To Leave
 |
Step 1: Select the Workflow entries that you would like to copy over to the Leave Module. Step 2: Once done, scroll to the bottom of the page and click Copy Selected To Leave. A popup will appear, as shown in Image 6 on the left. Step 3: Select the Leaves Type, the Workflow Entries, and click [Save] to save your changes. |
Copy Workflow To Claim
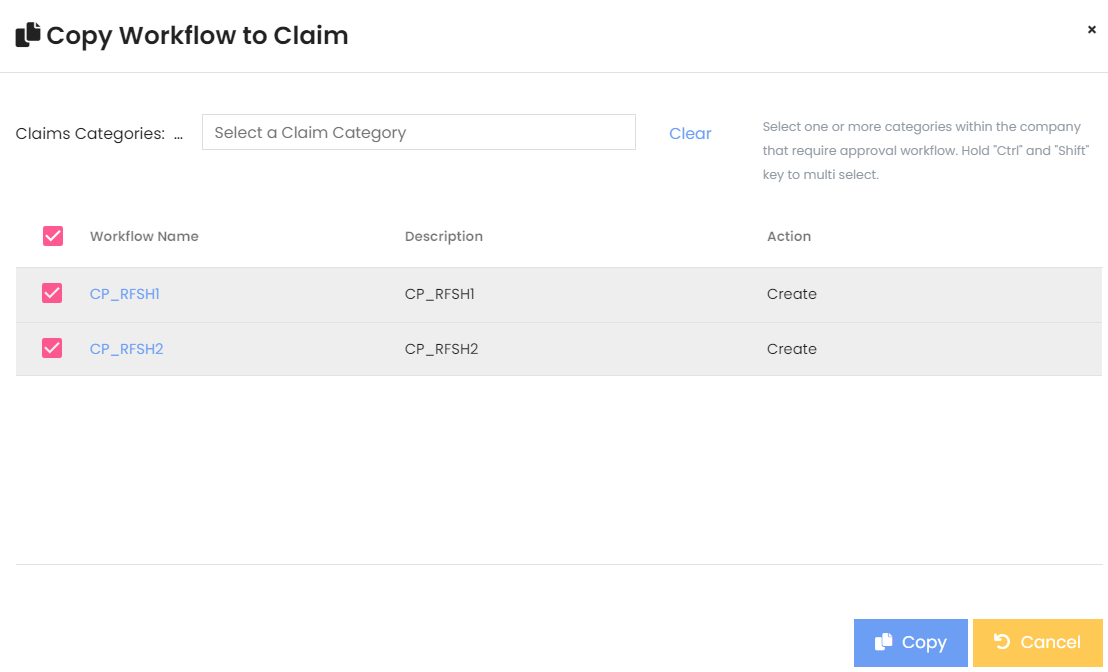 |
Step 1: Select the Workflow entries that you would like to copy over to the Claims Module. Step 2: Once done, scroll to the bottom of the page and click Copy Selected To Claim. A popup will appear, as shown in Image 7 on the left. Step 3: Select the Claims Categories, the Workflow Entries, and click [Save] to save your changes. |