Setup - Billing Client Management
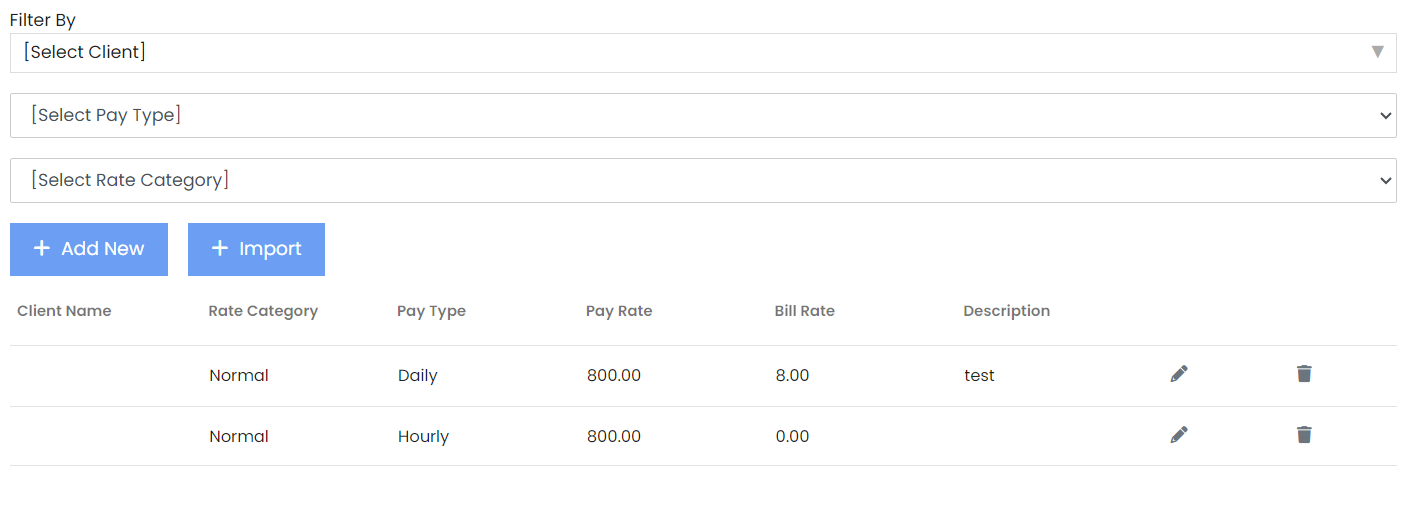
Step 1: Select the desired Client, Pay Type and Rate Category via the dropboxes.
|
|
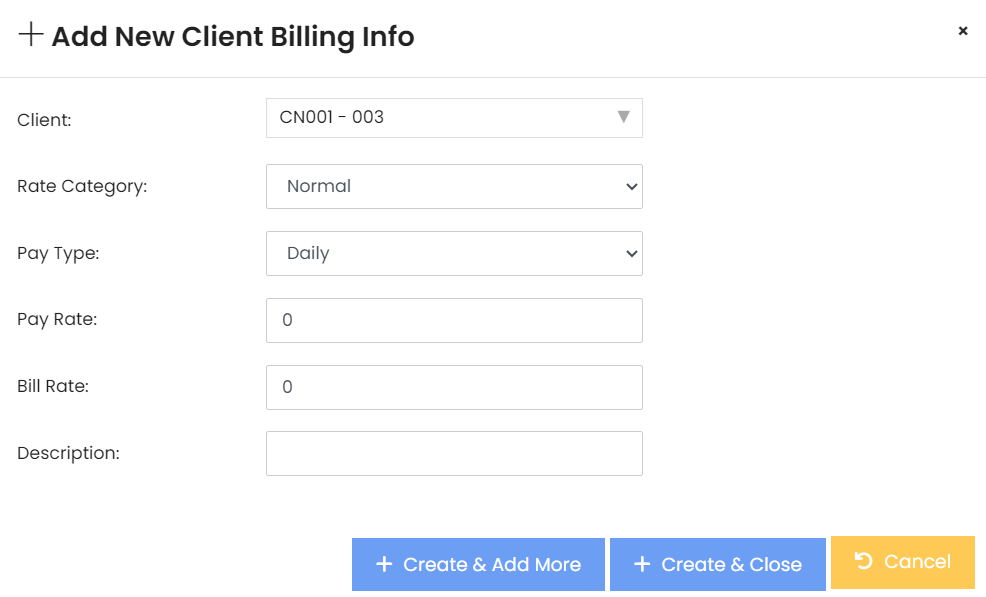 |
To Add New Client Billing Info
Step 1: Click the [+ Add New] button in Image 1 and there will be a popup as shown in Image 2. Step 2: Fill up the respective categories with the appropriate details. Step 3: To save and create more announcements, click [Create & Add More]. Else, to just save and exit, click [Create & Close]. |
 |
To Add New Client Billing Info
Step 1: Click the [Import] button in Image 1 and you will be redirected to the page as shown in Image 3. Step 2: Click [Browse] to upload locally stored files from your device. |
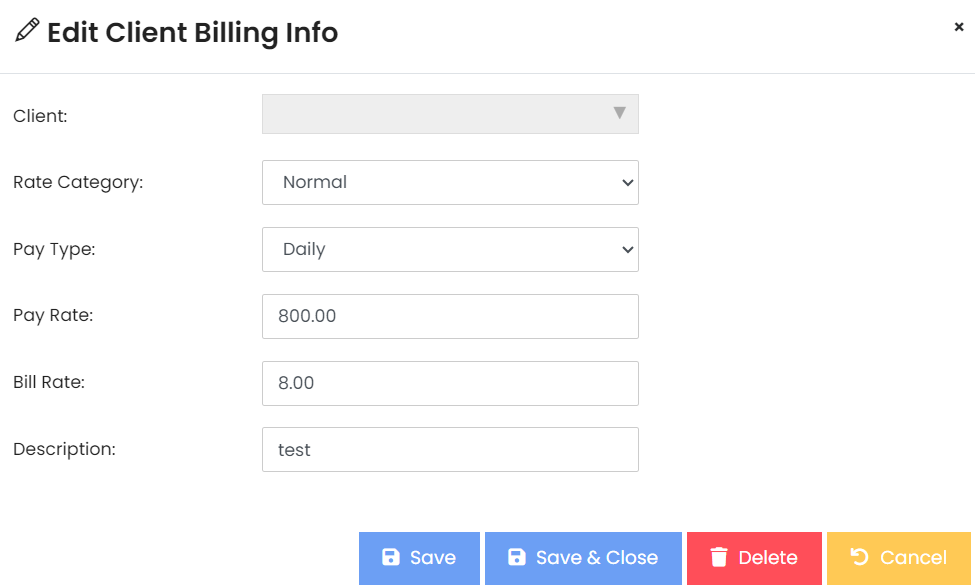 |
To Edit Existing Client Billing Info
Step 1: Click the Edit icon for the specific client in Image 1 and you will be redirected to the page as shown in Image 4. Step 2: Fill up the respective categories with the appropriate details. Step 3: To save, click [Save]. Else, to save and exit, click [Save & Close]. Else to remove this entry, click [Delete].
|
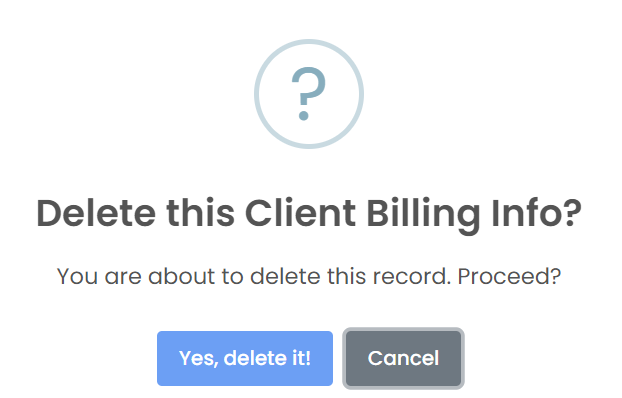 |
To Edit Existing Client Billing Info
Step 1: Click the Delete icon for the specific client in Image 1 and you will be redirected to the page as shown in Image 5. Step 2: To delete this entry, click [Yes, delete it!]. Else, click [Cancel].
|