Data Prep - Data Entry
Data Entry
|
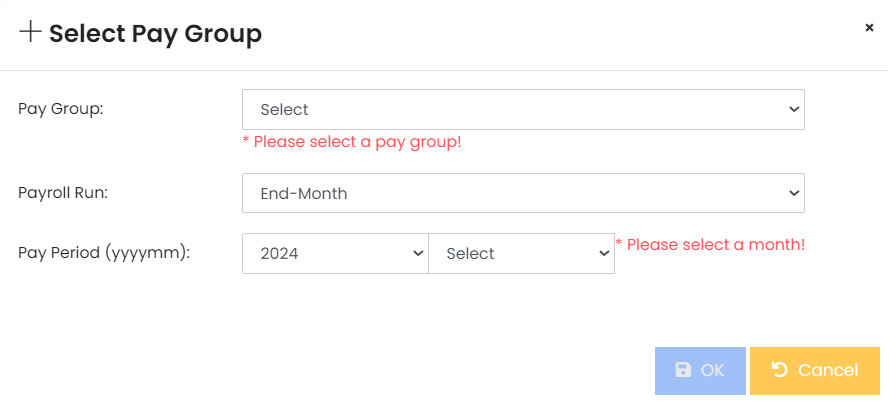
Step 1: Firstly, after clicking Data Entry in the left menu, there will be a popup, as shown in Image 1 on the left.
Step 2: Next, fill in the necessary fields to specify which pay group you want to be uploaded. Step 3: Once done, click the [Save] button in order to save the changes made. |
|
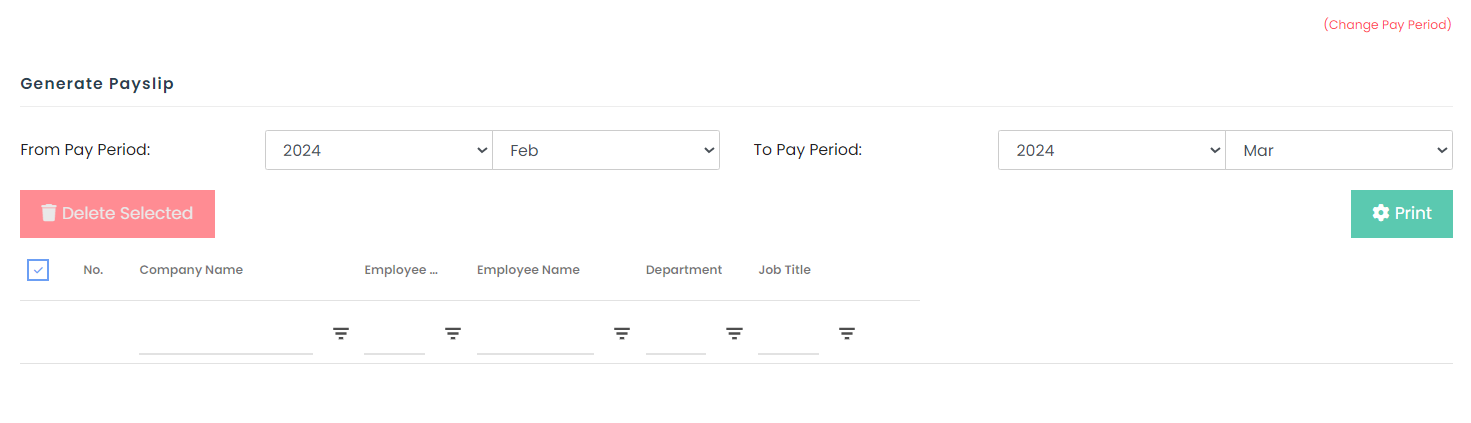
Step 4: Next, you will be redirected to this page. Here you can click the first box to determine the Update Type, as seen in Image 2 on the left.
Step 5: To select the file to update, click [Browse] and select the locally stored file. |