Setup - IES Login Mapping
IES Login Mapping
|
To add a New Login Mapping
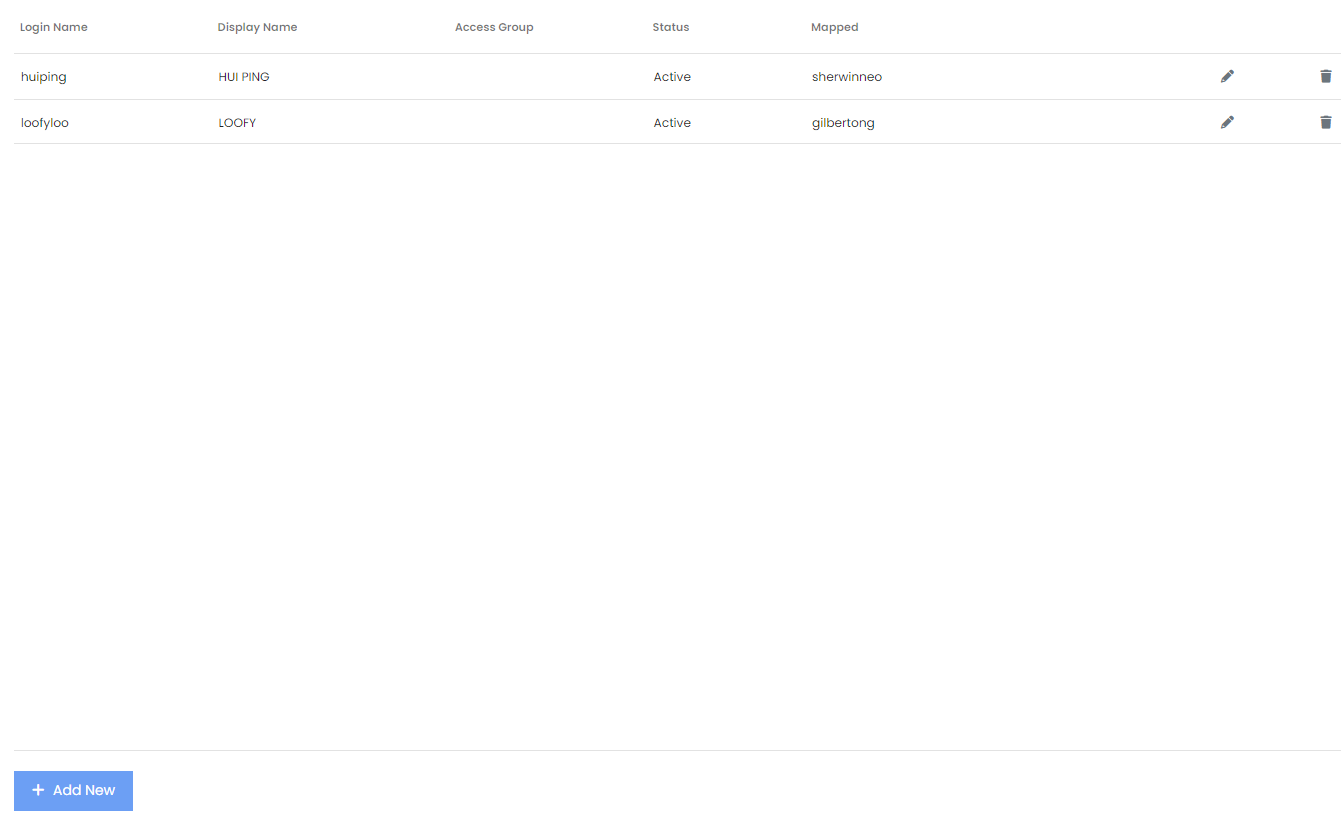
Step 1: To create a new Login Mapping, click the [+ Add New] button at the bottom-left of the page, as shown in Image 1. Step 2: A popup will appear, as shown below. Fill in the required fields. Step 3: To create the new mapping and add more login mappings, click [+ Create & Add More]. Else to create the new mapping and close, click [+ Create & Close]. 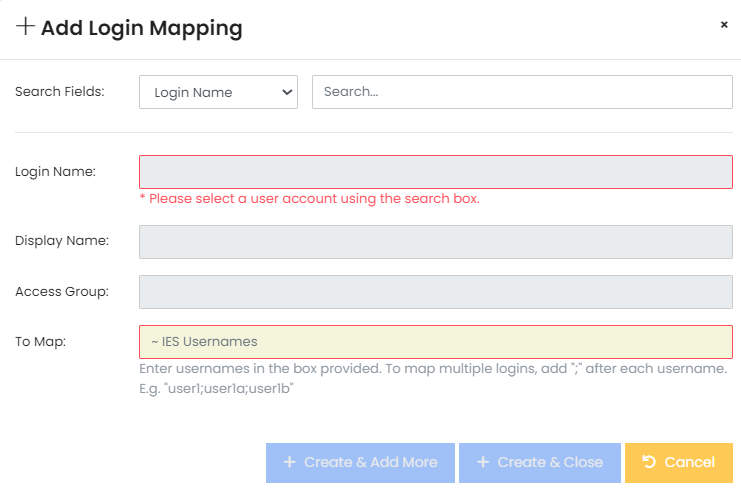
|
|
|
To Edit an Existing Login Mapping
Step 1: To edit a Login Mapping, click the Edit icon at the selected Login Mapping entry. Step 2: A popup will appear, as shown below. Make the necessary changes and click [Save] to save the changes made. Else, click [Cancel]. 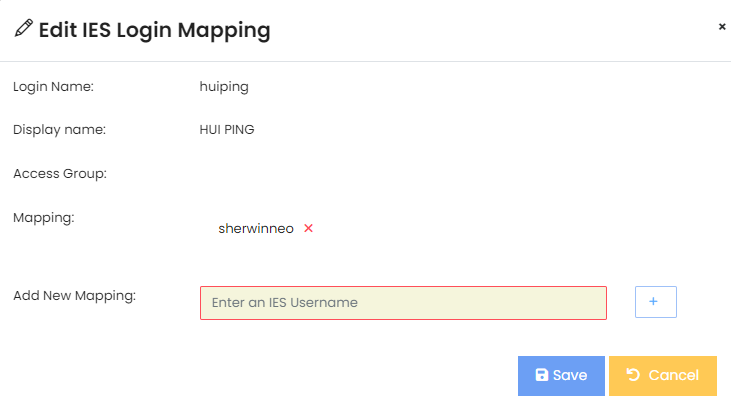
|
|
|
To Delete an Existing Login Mapping
Step 1: To delete a Login Mapping, click the Delete icon at the selected Login Mapping entry. Step 2: A popup will appear, as shown below. Click [Yes, delete it!] to confirm the deletion of the mapping. Else, click [Cancel]. 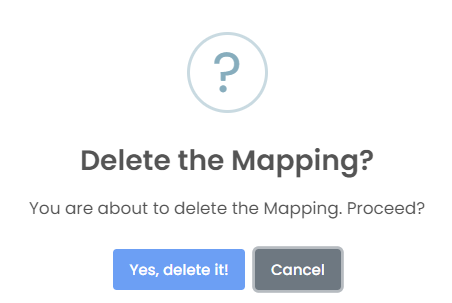
|