Setup - Pay Item Group Setup
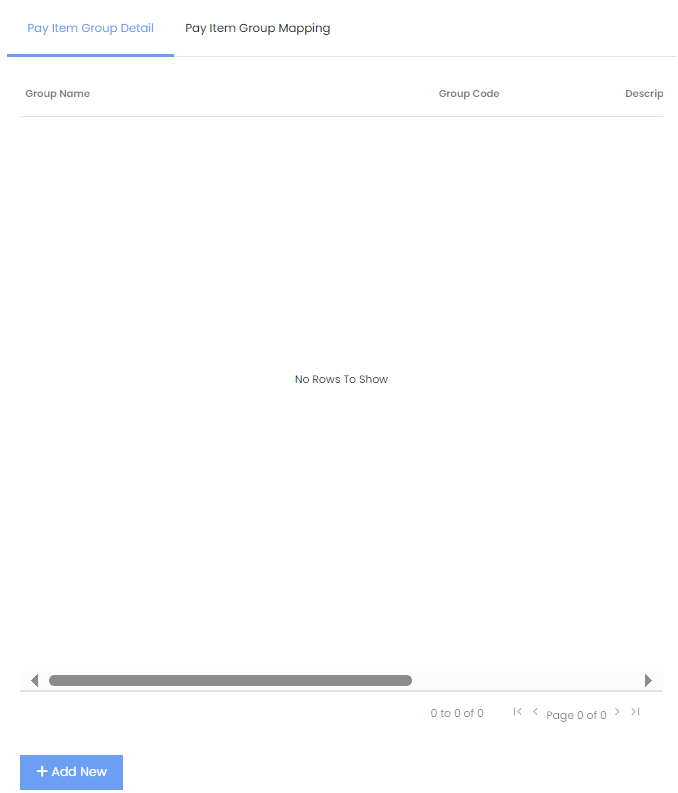
Setting Up Pay Item Group
|
Setting Up
Step 1: Firstly, Step 2: Step 3: Fill up the Group Name, Group Code, and Step 4: To save your changes and add another Pay Item Group, click [+ Create & Add More]. Else, to save your changes and close the page, click [+ Create & Close].
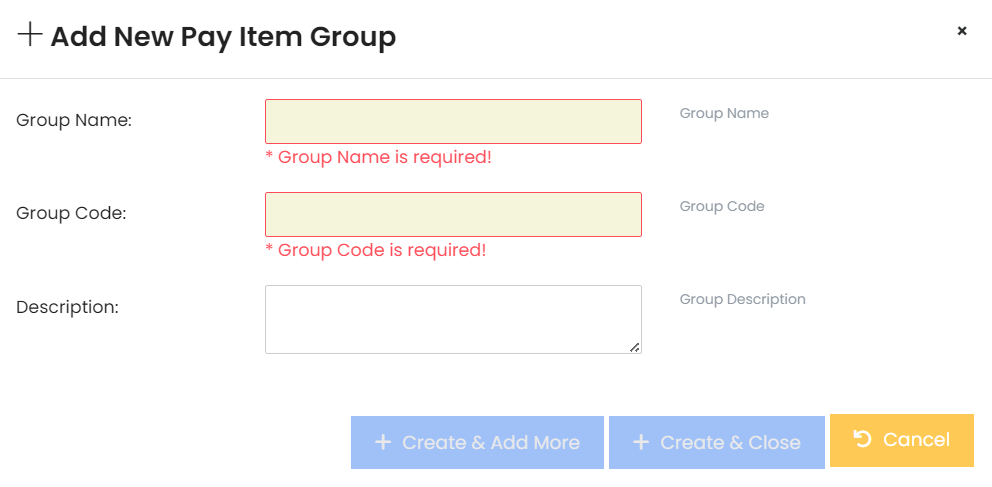 Image 2 |
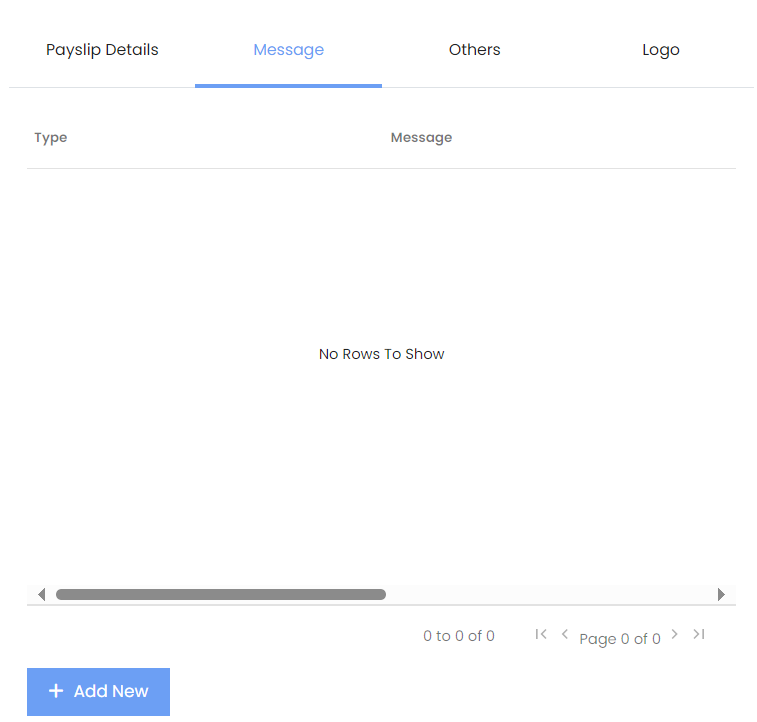
Step 1: Select the [Message] tab, and click [+ Add New] at the bottom right-hand corner of the page, as seen in Image 4 on the left.
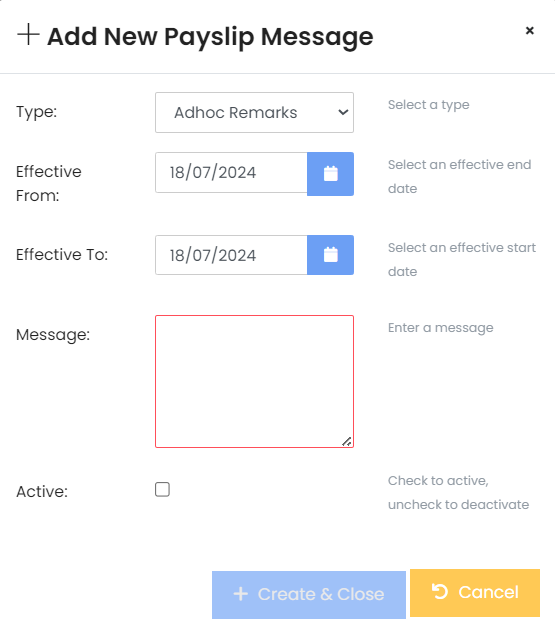
Step 2: A popup will appear, as shown below.
Step 3: Make the necessary changes, and click [+ Create & Close] to save your changes.
 |
 |
 |
Setting Up Payslip Message
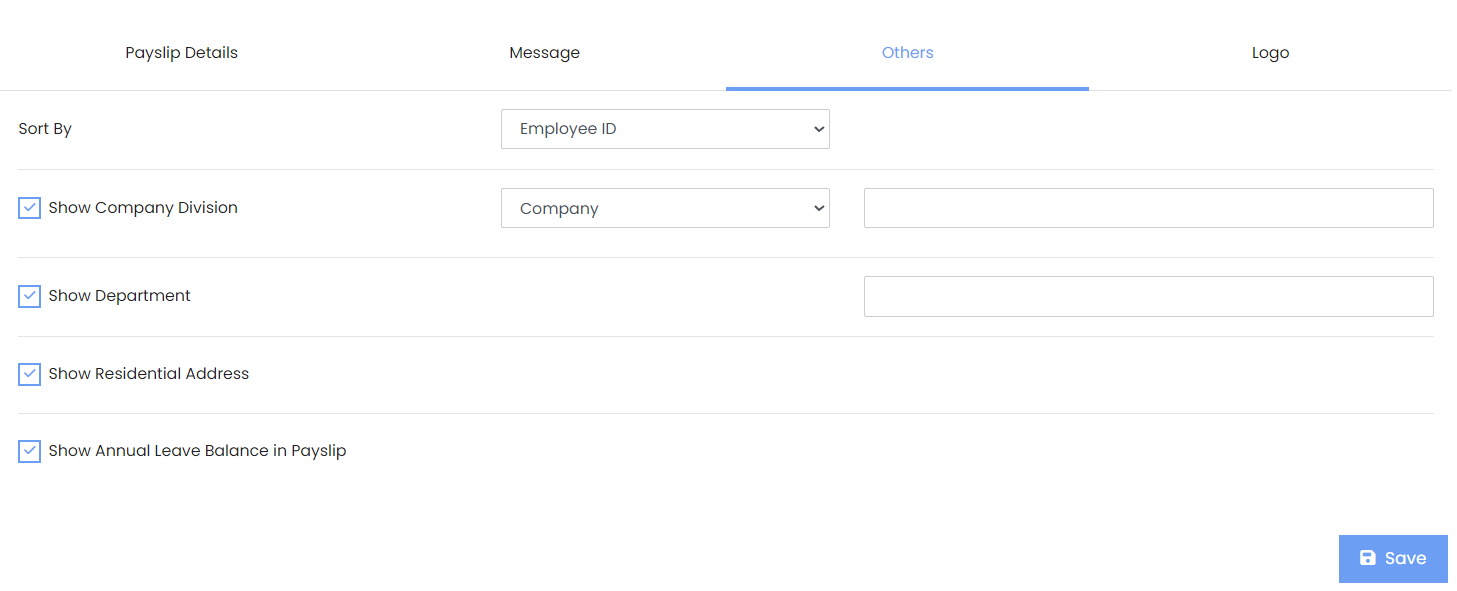
Step 1: Select the [Others] tab, and select the filters that you want to use, as can be seen in Image 5 on the left. Step 2:You will be able to sort by EmployeeID or Department. Step 3:You can also check the tickboxes to filter them further.
|