Image 12
|
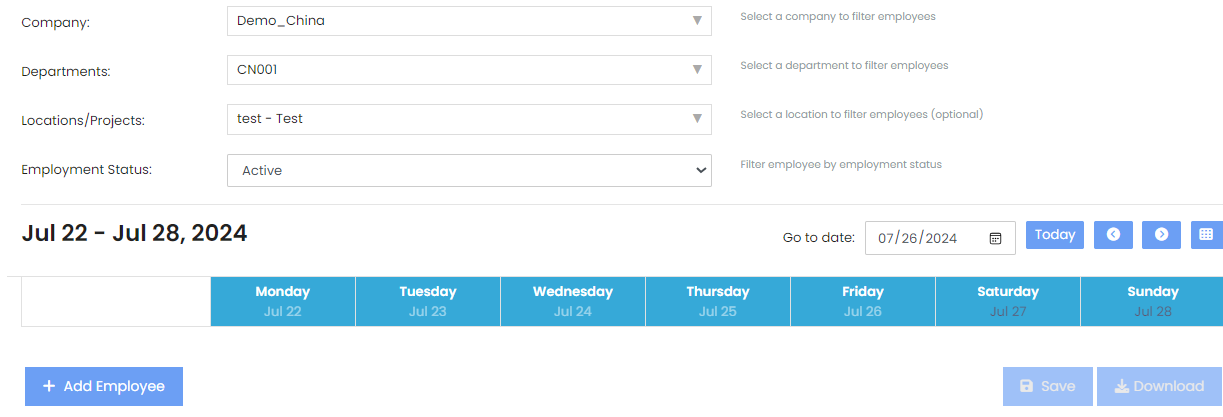
To Create New Roster Config
Step 1: Firstly, clickselect the Company, Departments, Locations/ Projects and Employment Status.
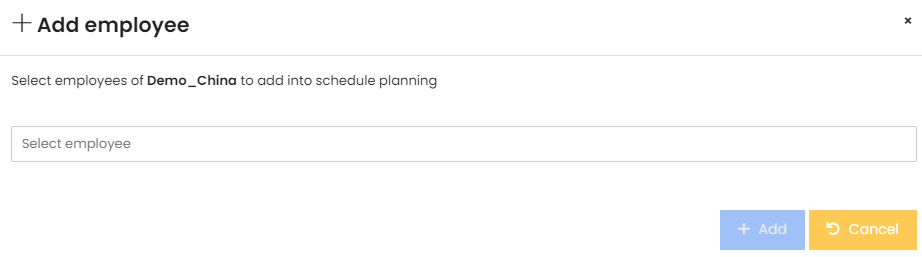
Step 2: Once done, click [+ Add New]Employee] buttonto add an employee to the schedule. A popup window will appear, as shown in Image 2 on the left.
Step 3: Next, select employees of the chosen company to add into schedule planning. Once done, click [Save] to save the changes made.
Step 4: Once done adding all the employees, click [Save] at the bottom-leftbottom right-hand corner of the page, as shownseen in Image 1 to save all the changes made. To download the schedule, click the [Download] button, which is also at the bottom-right hand corner of the page, as seen in Image 1.
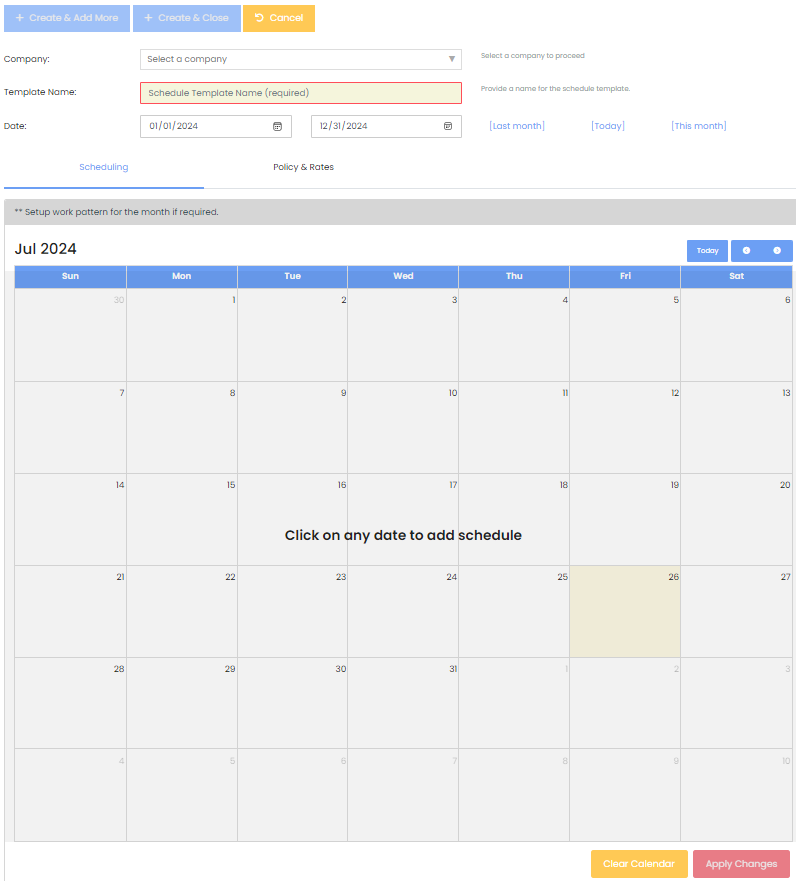
Step 2: You will be redirected to the page, as shown in Image 2 below. Select the Company, Template Name and Dates.
|
Image 2
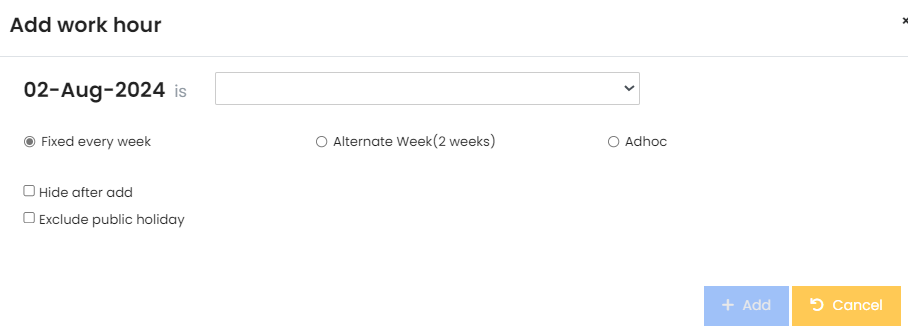
Step 3: A popup menu will appear on the right, and you will be able to drag shifts into your template, as shown in Image 3 below. Select the desired options, then click [+ Add] to add the work hour into the schedule.
Step 4: You may continue to add work hours on other days. Else, once done, click [Apply Changes], at the bottom-right corner of Image 2 to save all the changes made.